How to Sterilize Soil Safe Methods for Cleaner Potting Mix
A bag of old potting mix can look perfectly fine and still contain unwanted pests, pathogens, weed seeds, or organic debris. That raises a practical question: do you know how to sterilize soil before reusing it, especially for seedlings or plants affected by fungus gnats?
For home gardeners, the more accurate term is often soil pasteurization rather than true sterilization. Controlled heat treatment can greatly reduce organisms in soil, but it doesn’t eliminate every living organism. For a small batch, oven treatment can raise the entire soil mass to 180-200°F (82-93°C) for 30 minutes.
The right method depends on why you’re treating the soil, how much you have, and whether you want maximum organism reduction or a gentler treatment that preserves more beneficial soil life. Start by deciding your goal, then match the method to the soil volume and the level of organism reduction you want.
What Does It Mean to Sterilize Soil, and Do You Really Need To?
Soil sterilization means treating growing media to reduce or eliminate unwanted organisms such as pathogens, pests, and weed seeds. For home gardeners, controlled heat treatment is often better described as pasteurization because it reduces most organisms rather than guaranteeing absolute sterility.
Sterilization vs pasteurization: what’s the difference?
The words sound interchangeable, but they’re not.
In everyday gardening language, people often say they want to “sterilize soil” when they really mean they want to reduce the number of organisms that could cause problems. Extension guidance makes that distinction clearer.
You can use dry heat, steam, or aerated steam to pasteurize soil. With conventional dry heat or steam, raising the entire soil mass to 180-200°F for 30 minutes kills almost all living organisms. It is called pasteurization because the treatment isn’t presented as a guarantee of sterility.
That language is useful for indoor plant care because it sets a realistic expectation. Treated soil doesn’t become permanently isolated from the microbial world.
And heating it harder isn’t better.
Penn State Extension warns that temperatures above 200°F, particularly with excessive treatment time, can break down organic matter and release salts or other compounds that may harm seedlings.
When is soil treatment actually worthwhile?
Soil treatment makes the most sense when there is a clear reason to do it.
For example, it can help with seed starting, propagation, some reused growing media, or soil associated with previous pest or disease problems. Oklahoma State University Extension describes pathogen-free soil as desirable for houseplants, transplants, and garden plots and identifies solar, dry, and steam heat as effective non-chemical soil treatments.
For ordinary indoor houseplants, however, a simpler solution often works: use fresh commercial potting mix.
University of Minnesota Extension advises indoor gardeners to use new sterile potting soil and specifically says not to pot indoor plants with soil taken directly from the garden.
That means soil sterilization should be a tool, not a ritual.
Users starting sensitive seedlings typically have more reason to care about the cleanliness of their growing medium because young plants have less room for error. For a healthy established houseplant being moved into a clean pot, buying fresh commercial mix may be more practical than baking an old batch.
Which Soil Sterilization Method Is Best for Your Situation?
The best method depends on how much soil you have and what you are trying to accomplish. Start with soil volume and purpose: oven treatment suits small batches, steaming works well when you prefer controlled moist heat, microwave treatment fits very small batches, and solarization suits large outdoor areas.
| Method | Best use | Main strength | Main limitation | Effect on soil biology |
| Oven | Small batches | Easy to monitor with a thermometer | Requires an oven and good ventilation | Broad organism reduction |
| Microwave | Very small batches | Quick for limited quantities | Uneven heating can be a problem | Broad organism reduction |
| Steam | Small or medium batches | Moist heat is effective | Requires a steaming setup | Broad organism reduction |
| Aerated steam | When preserving more beneficial organisms matters | Lower treatment temperature | More specialized setup | Many beneficial organisms can survive |
| Solarization | Large outdoor areas | Uses solar heat instead of an appliance | Weather and time dependent | Reduces many soil pests, pathogens and weeds |
Choose by soil volume and purpose.
For a small amount of mix needed for seed trays, oven or steam treatment is usually more practical than solarizing it.
For a very small batch, a microwave may be convenient, but the time isn’t universal because microwave power, soil moisture, container shape, and soil depth all affect heating.
For a large garden area, solarization makes far more sense. Oklahoma State Extension recommends loosening the soil, wetting it, covering it with clear plastic, sealing the edges, and leaving it in place for several weeks.
And most simple method lists skip an important choice.
Those are two different goals. Decide first whether you want maximum organism reduction or lower-temperature treatment that retains more beneficial biology. If the goal is maximum organism reduction, conventional pasteurization makes sense. If the goal is reducing disease-causing organisms while retaining more beneficial biology, a lower-temperature aerated-steam approach deserves consideration. Penn State reports that many beneficial fungi and bacteria can survive when aerated steam holds the entire soil mass at 145-160°F for 30 minutes.
Those are two different goals. Treating them as the same thing is confusing.
How to Sterilize Soil at Home Without Overheating It?
For a small batch, controlled oven treatment involves slightly moistening the soil, placing it in a shallow heat-safe container, monitoring the temperature in the center of the soil, and maintaining the target temperature for the required time. For steam treatment, use the same principle: the entire soil mass must reach the required temperature.
How to sterilize soil in oven
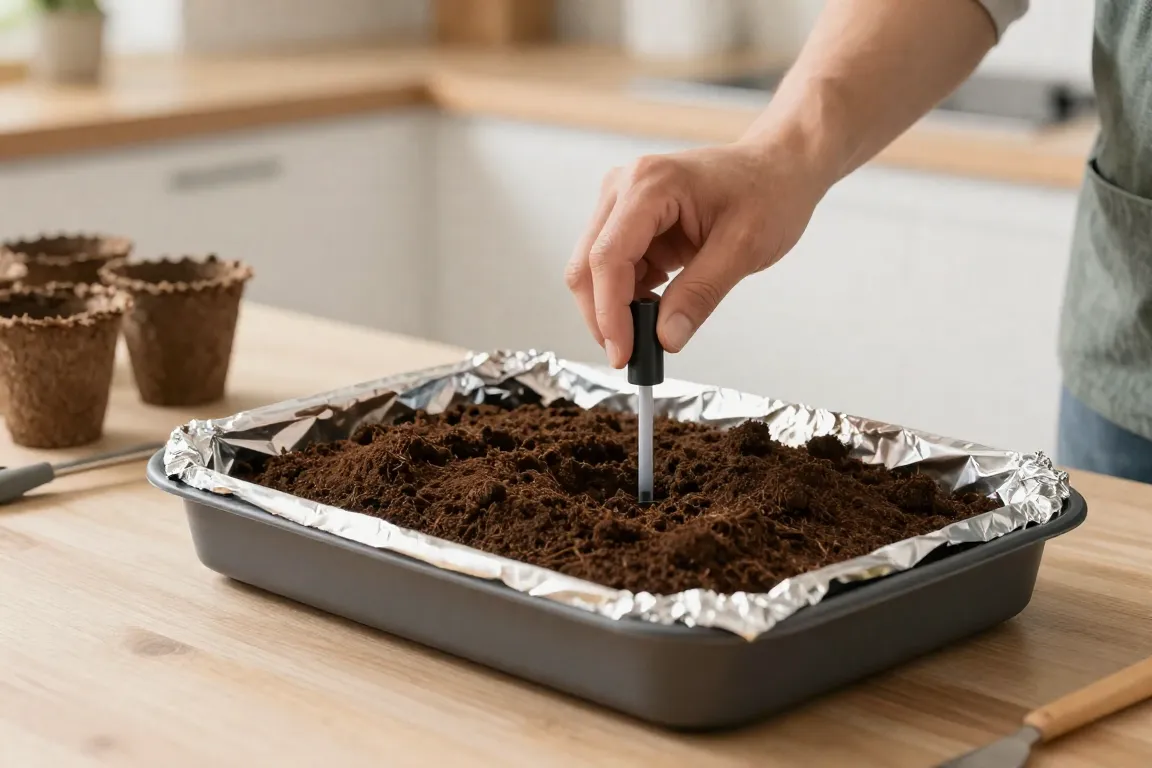
Oklahoma State University Extension gives a specific oven procedure for small quantities of soil. It recommends keeping the soil layer no deeper than 4 inches, using a non-plastic container, covering the container with aluminium foil, and placing a thermometer in the centre of the soil.
- Moisten the soil so it is evenly damp, not saturated.
- Spread the soil in a non-plastic, heat-safe container no deeper than 4 inches.
- Cover the container tightly with aluminium foil.
- Insert a thermometer through the foil into the center of the soil.
- Heat the oven to 180-200°F and monitor the soil temperature.
- Hold the soil at at least 180°F for 30 minutes.
- Cool the covered soil completely before opening and using it.
The common mistake is watching the oven dial instead of the soil. The target applies to the soil itself, especially the center of the mass. A shallow, even layer makes that much easier, and it helps confirm the treatment reaches the whole batch.
Oklahoma State University calls this oven sterilization, while Penn State Extension uses the more precise term pasteurization for the same general temperature range. The terminology differs, but the practical point is the same: measure the soil, don’t assume the oven setting tells you what temperature the growing medium has reached.
This is why soil baking should never mean simply putting dry soil into a hot oven and leaving it there. Moisture and temperature control are part of the treatment.
How to sterilize soil in microwave
Microwave treatment is best reserved for small quantities.
Oklahoma State University Extension recommends 90 seconds per kilogram of soil at full power, and notes that metal containers and aluminium foil must not be used in a microwave.
A separate North Carolina State University research report found that moist soil could be sterilized throughout the tested soil depth with up to about 15 minutes of microwave exposure. The research also found that longer exposure could char seeds and other organic material.
Those findings show why a microwave time should not be treated as a universal formula. Different equipment and soil conditions can produce different results.
For that reason:
- Moisten the soil evenly.
- Measure a small batch rather than attempting a large volume.
- Use a microwave-safe, non-metal container.
- Heat according to a validated method suited to the amount and equipment.
- Check the treatment rather than assuming elapsed time equals sterilization.
- Cool the soil thoroughly before planting.
Never place aluminium foil or metal containers inside the microwave. Don’t keep extending the heating time just because the first cycle didn’t produce the result you expected.
How to steam soil without pressure
Steam treatment is another practical option for small quantities.
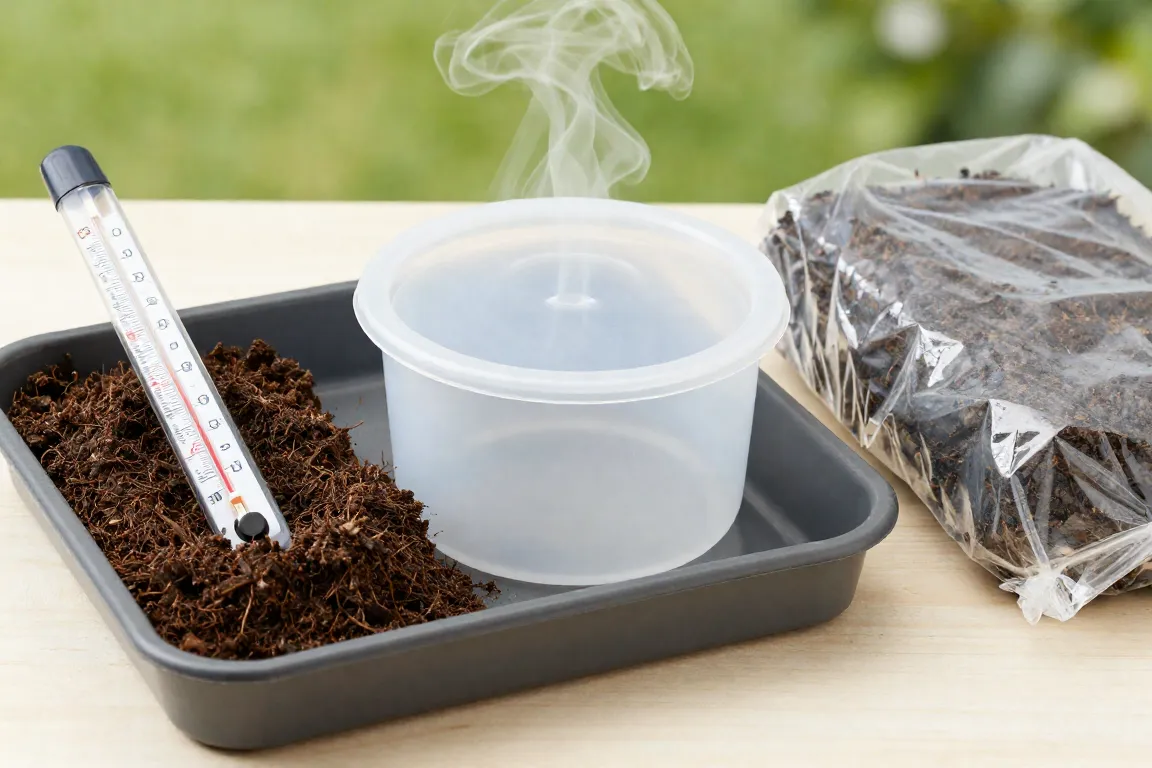
Place the soil in shallow containers on a rack above about 1 inch of water. The soil should not sit directly in the water. After steam begins escaping, continue the treatment for about 30 minutes.
The important part is not the kitchen setup itself. The soil needs to receive sufficient heat throughout the mass.
What about a pressure cooker?
A pressure cooker can provide a controlled steam environment, but it is a more specialized approach.
Oklahoma State University describes a procedure using shallow soil containers on a rack above the water, with the soil covered in foil and steam pressure brought to 10 pounds for 15 minutes after air has been forced out and steam begins escaping.
Because pressure-cooker use involves a pressurised appliance, follow the manufacturer’s safety instructions for the appliance. Don’t improvise pressure settings or treat a gardening recipe as a substitute for the cooker’s operating instructions.
Can boiling water sterilize soil?
Boiling water can expose a small amount of soil to high heat, but it is not a clean, universal way to treat an entire batch evenly.
Water may move through some parts of the soil faster than others, and the final treatment depends on soil depth, structure, moisture and how evenly the heat reaches the whole mass. For predictable treatment, emphasise controlled dry heat or steam methods.
Hot water can burn skin, crack unsuitable containers, and create a messy indoor setup. There is little reason to make it the default method when a measurable heat-treatment approach is available.
How does solarization work?
Solarization uses the sun to heat moist soil beneath clear plastic.
For large outdoor areas, Oklahoma State University recommends loosening and wetting the soil before covering it with a thin, clear polyethene sheet. Seal the edges, and leave the plastic in place for several weeks.
Colorado State University Extension reports that 4-6 weeks can be sufficient during hot summer conditions in western Colorado, while cooler spring or fall conditions may require 6-8 weeks. The exact period therefore depends on local conditions rather than one universal calendar rule.
Solarization works best when sunlight is strong, and the soil is properly prepared. It isn’t a practical replacement for oven treatment when someone needs a tray of potting soil tomorrow.
Will Sterilizing Soil Kill Fungus Gnats Without Killing Beneficial Microbes?
Heat treatment can reduce fungus gnat stages in soil, but it is not selective enough to kill gnats while leaving the soil microbiome untouched. Higher-temperature pasteurization affects many organisms. Lower-temperature aerated steam can preserve more beneficial microbes, so the treatment goal differs from maximum sterilisation.
Why fungus gnats are a special case
Fungus gnats are closely tied to wet growing media.
Their larvae feed mainly on fungi and organic matter in soil, although heavy populations can damage roots. Adults are mostly a nuisance and can often be seen around plants, windows, and lights.
The moisture connection matters more than many “sterilize your soil” guides suggest.
Fungus gnat larvae breed in moist soil, so let the soil dry to reduce larval survival. It also recommends changing watering habits so the soil doesn’t stay wet.
Overwatering and poor drainage encourage fungus gnats and allow the soil surface to stay wet between waterings.
So if a houseplant develops fungus gnats because the pot stays wet, repeatedly sterilizing replacement soil without fixing the moisture problem can miss the real cause.
The assumption that you can sterilize soil while preserving all good microbes is wrong
Most guides frame the problem as if a magic temperature wipes out fungus gnats while leaving the useful microbial community untouched.
That’s not how heat treatment works.
The conventional dry heat or steam at 180-200°F for 30 minutes kills almost all living organisms in the treated soil. But when aerated steam is used at the lower range of 145-160°F for 30 minutes, many beneficial fungi and bacteria can survive while many disease-causing organisms are controlled.
That gives gardeners a much better way to think about the choice.
Maximum organism reduction and preservation of more beneficial biology are not identical goals.
Promising both at once makes the advice sound attractive, but it isn’t a reliable description of what heat does.
What to do after heat treatment
Once treated soil has cooled, keep it protected from contamination.
Clean pots, tools, benches and other surfaces that come into contact with the mix. Penn State Extension specifically warns that clean handling matters because treated soil can be contaminated again by dirty equipment or surfaces.
Don’t assume you must immediately add compost, microbial products or other amendments simply because the soil was heated. The right amendment depends on the growing medium, the plant and what the mix already contains.
And keep fungus-gnat control separate from soil treatment. If adult flies keep appearing, inspect the plants, drains, and other moist organic areas. University of Maryland Extension notes that fungus gnats can breed in moist debris around drains as well as in potting soil.
What Should You Avoid When Sterilizing Soil?
Avoid treating appliance settings as guarantees, overheating the soil, using unsuitable containers, ignoring recontamination, or assuming soil treatment alone will solve a pest problem. The goal is controlled treatment of the soil mass, followed by clean handling and a growing medium appropriate for the plant.
Don’t overheat the soil.
More heat is not automatically more effective.
Temperatures above 200°F or treatments lasting more than an hour can break down organic matter and release salts or compounds that may harm seedlings.
Stay within the validated treatment range instead of trying to speed things up with a hotter oven.
Don’t use garden soil automatically for houseplants.
Garden soil is not the same thing as a manufactured indoor potting mix.
Don’t use garden soil for indoor plants; use new, sterile potting soil for indoor potting.
If you want to grow a houseplant indoors, starting with an appropriate commercial potting mix can be easier and more predictable than bringing garden soil indoors and trying to treat it.
Don’t confuse treated soil with a pest-free growing environment.
Treated soil can become contaminated again.
Dirty tools, pots, plant debris, infected roots, untreated replacement material and moist organic matter can all reintroduce problems.
Do you need to sterilize compost?
Compost is different from a simple bag of potting mix.
The phrase sterilize compost can be misleading because compost is built around biological decomposition. If the goal is to eliminate its living community, heat treatment works against that biological function.
The more useful question is whether organic material intended for potting media has been properly processed and is free from unwanted pests or pathogens. Purchasing pasteurized containers or potting mixes with incompletely composted organic matter can lead to fungus gnats.
For indoor plants, don’t assume that heating every compost-based amendment is automatically an improvement. Match the treatment to the purpose of the material.
Don’t assume sterilized soil stays sterile.
Once you open the container, it is exposed again to the surrounding environment.
That does not make soil treatment pointless. The realistic goal is to start with a cleaner growing medium and then keep pots, tools and storage conditions clean enough to prevent immediate recontamination.
What Are the Most Common Questions About Sterilizing Soil?
The most useful questions are not only about temperature. Gardeners also need to know whether reused soil can be treated, whether freezing works, whether sterilization controls fungus gnats, whether chemicals belong in potting soil, and whether treated soil can be safely reused after cooling.
The practical way to approach soil sterilization
Soil treatment makes the most sense when there is a specific problem to solve.
For a small batch, controlled oven or steam treatment can measurably reduce unwanted organisms. Microwave treatment can work for very small quantities if you follow the method carefully. Solarization is more practical for large outdoor areas. And when preserving more beneficial soil organisms matters, lower-temperature aerated steam is a fundamentally different approach from maximum heat treatment.
The biggest mistake is treating “sterilized soil” as a magic reset button.
Clean media helps. But clean pots, sensible watering, good drainage and careful handling matter just as much once the plant is back in its container.