25 Indoor Plant Damage Patterns: How to Identify and Fix Them
Indoor plant damage can result from pests, disease, watering mistakes, light stress, temperature changes, or physical injury. A damaged leaf can look like a pest problem even when the real cause is something else. Spider mites and thrips can leave tiny pale marks; sap-feeding insects can leave sticky residue; and root problems can make a plant droop even when its soil is wet.
Use this guide to compare what you see with the pattern, check the most likely causes, and choose a sensible first step. The 25 patterns are grouped into five broad families: pest damage, disease, watering and cultural stress, light and temperature stress, and physical damage. These clues narrow the possibilities, but a leaf symptom alone rarely proves one exact diagnosis.
I. Pest Damage Patterns
Indoor pests can arrive on a new plant, in contaminated growing material, or on plants that spent time outdoors. Some hide on the undersides of leaves, so inspect carefully before choosing a treatment.
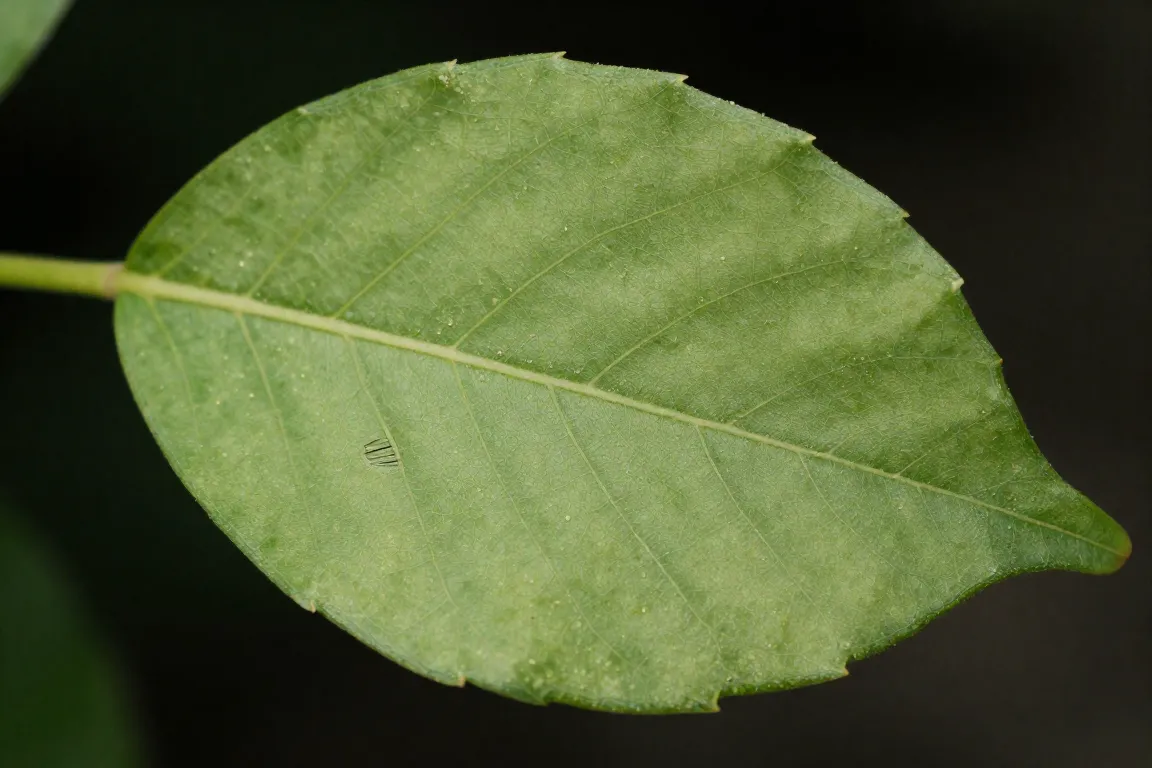
1. Fine Stippling or Pinprick Spots
What you see: Many tiny pale-yellow or white dots scattered across the leaf. As feeding increases, the leaf may look dull, bronze, or faded.
Likely causes: Spider mites are a common suspect; thrips and other causes of leaf injury can produce similar marks. Fine webbing and tiny moving specks on the underside point to spider mites, but confirm by inspecting closely before deciding.
What to do: Isolate the plant and inspect nearby plants. Rinse the foliage, including the undersides of leaves, if the plant tolerates it. For a confirmed infestation, use a product labeled for the pest and houseplant, and follow the label exactly; repeat only at the interval listed. Test sprays on a small area first because some plants are sensitive.
2. Silvery Trails or Scraped-Looking Patches
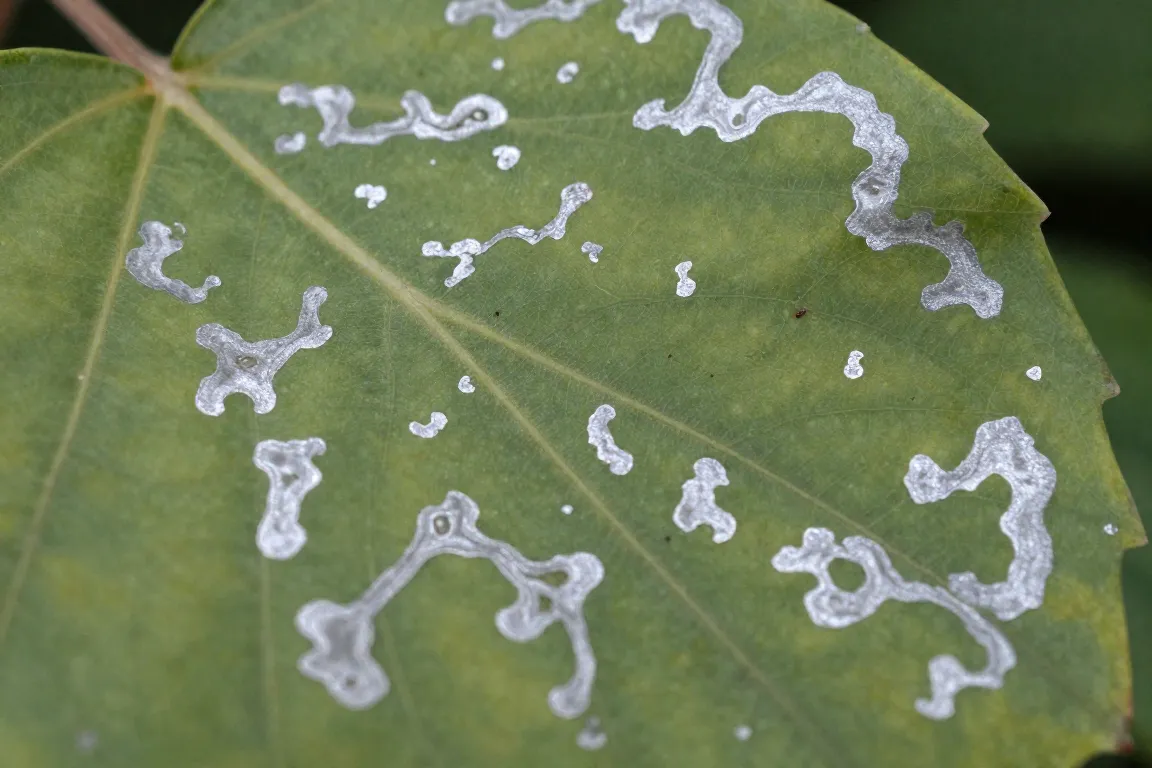
What you see: Irregular silver or gray patches that look scraped, shiny, or almost frosted. Small black specks may be visible beside the damaged areas.
Likely causes: Thrips are a leading suspect, although mite feeding and other types of injury can also cause silvering. Black specks resembling tiny ink dots, along with narrow, moving insects, strengthen suspicion of thrips.
What to do: Isolate the plant. Tap a leaf over white paper and look for tiny, slender insects. Sticky cards can help monitor adult thrips but usually will not control an infestation on their own. If treatment is needed, select a product specifically labelled for thrips on houseplants and follow all directions.
3. Sticky Residue or Black Sooty Film
What you see: Leaves, stems, pots, or the surface below the plant feel sticky. Honeydew may develop a dark, soot-like coating.
Likely causes: Sap-feeding insects such as scale, mealybugs, aphids, and whiteflies can excrete sticky honeydew. The dark film may be sooty mold growing on that residue; look for the insects first, then the mold on top of it.
What to do: Follow the sticky residue upward and inspect stems, leaf joints, and the undersides of leaves. Isolate the plant, wash off removable residue, and address the pest you find. Do not treat the dark film alone while leaving the insects in place.
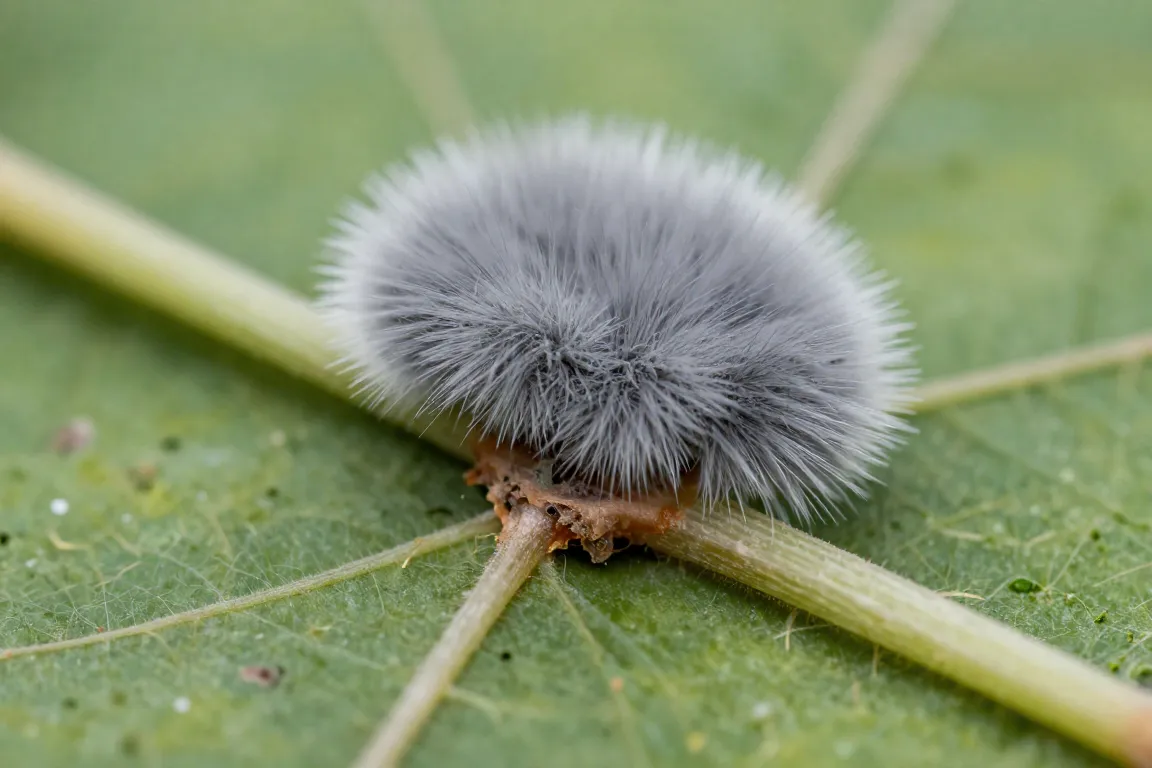
4. Cottony White Clusters
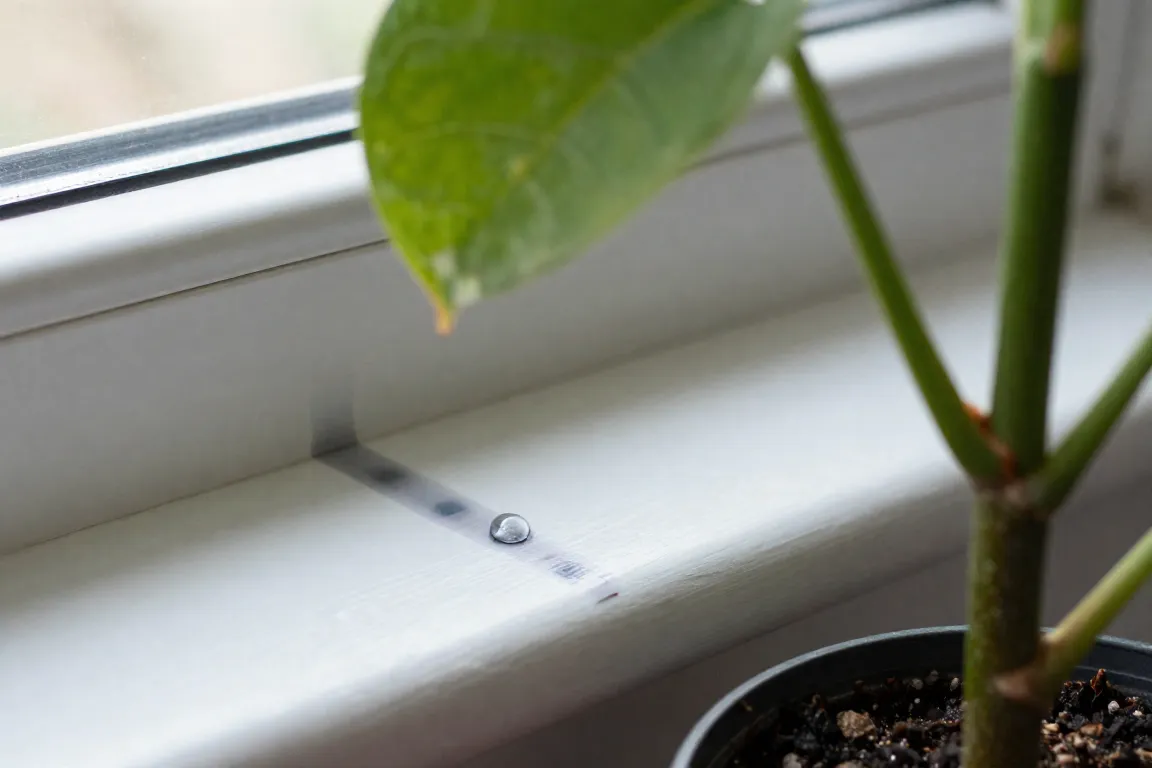
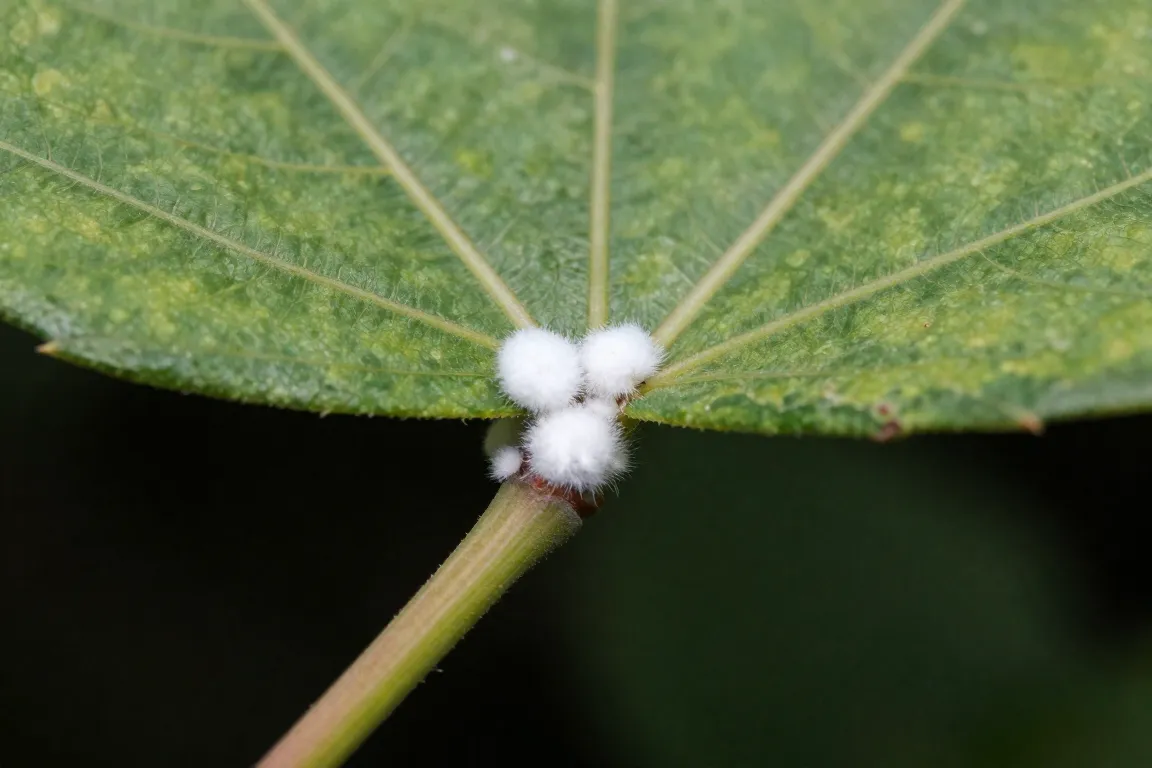
What you see: White, fluffy deposits tucked into leaf joints, along stems, beneath leaves, or around the pot rim.
Likely cause: Mealybugs are small sap-feeding insects covered in white wax. Similar-looking material can have other causes, so look for the insects themselves and check hidden crevices to confirm the source.
What to do: Isolate the plant. Remove visible mealybugs carefully. A cotton swab with rubbing alcohol is sometimes used for spot treatment, but first test a small, inconspicuous area because alcohol can injure some foliage. Inspect again regularly, including the pot rim and roots if the plant continues to decline. Use only a labeled product if you need to treat a larger infestation.
5. Brown Bumps or Waxy Shells
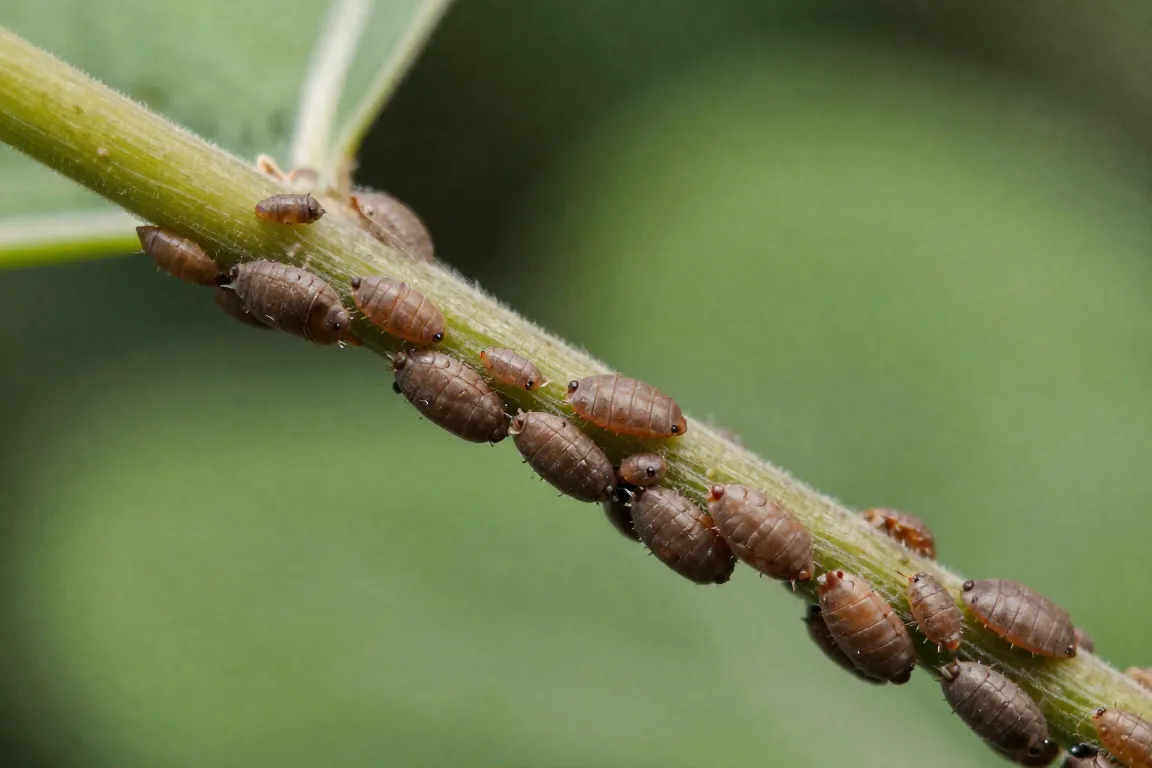
What you see: Small, rounded brown, tan, or yellow bumps attached to stems or leaves. The plant may yellow or grow more slowly; some scale insects leave sticky honeydew.
Likely cause: Scale insects. They can resemble a natural part of the stem or a leaf blemish, so inspect several bumps and look for other signs of feeding before you decide.
What to do: Isolate the plant and gently remove accessible insects without damaging the stem. Check leaf undersides and nearby plants. Horticultural oil or insecticidal soap may help if the product is labeled for scale and the plant; coverage and repeat timing matter, so follow the label and test plant sensitivity first.
6. Tiny Flies Around the Pot and Persistently Damp Soil
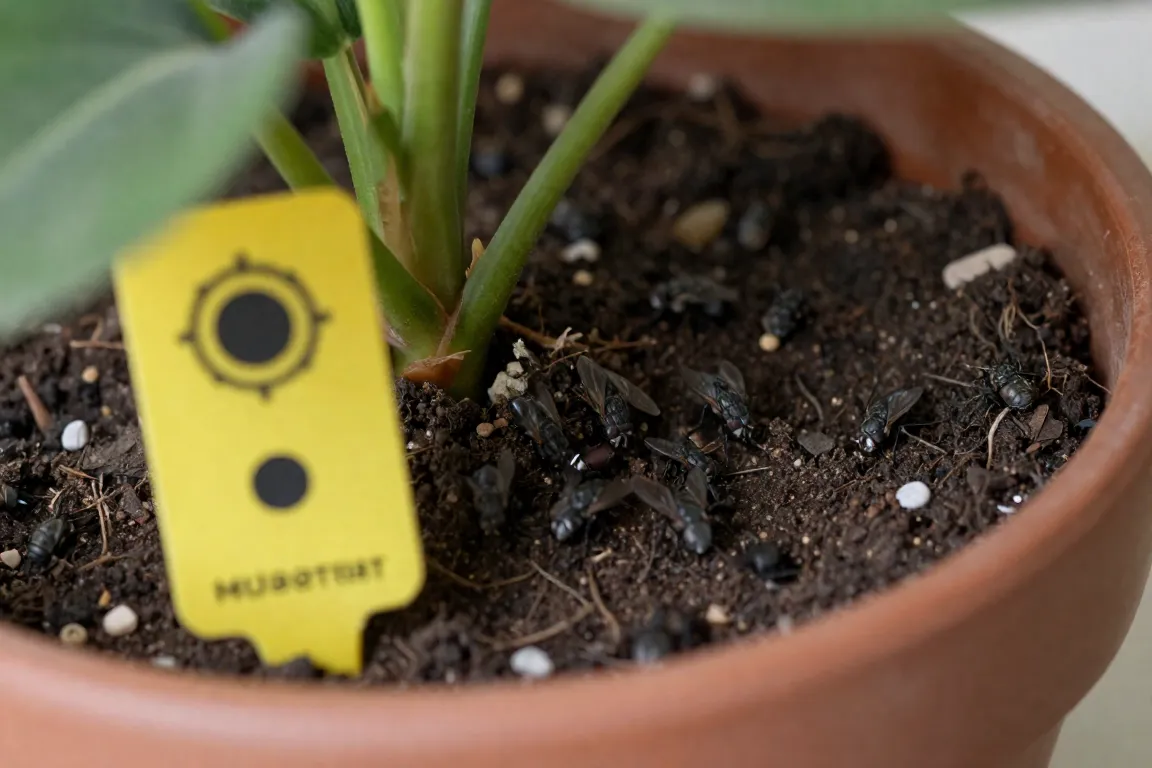
What you see: Small dark flies hover around the pot or rest on the growing mix, especially when the soil stays wet for long periods.
Likely cause: Fungus gnats. Adult flies are mainly a nuisance; larvae usually feed on fungi and decaying material in the mix, though large populations can injure fine roots. The flies alone don’t prove they are causing wilting, so check the soil condition too.
What to do: Review watering and drainage. Let the mix dry to the degree appropriate for the plant before watering again; do not impose a fixed dry period on plants that need consistently moist soil. Yellow sticky cards can help monitor adults. A product containing Bti may be useful against larvae when labelled for that use; follow the instructions.
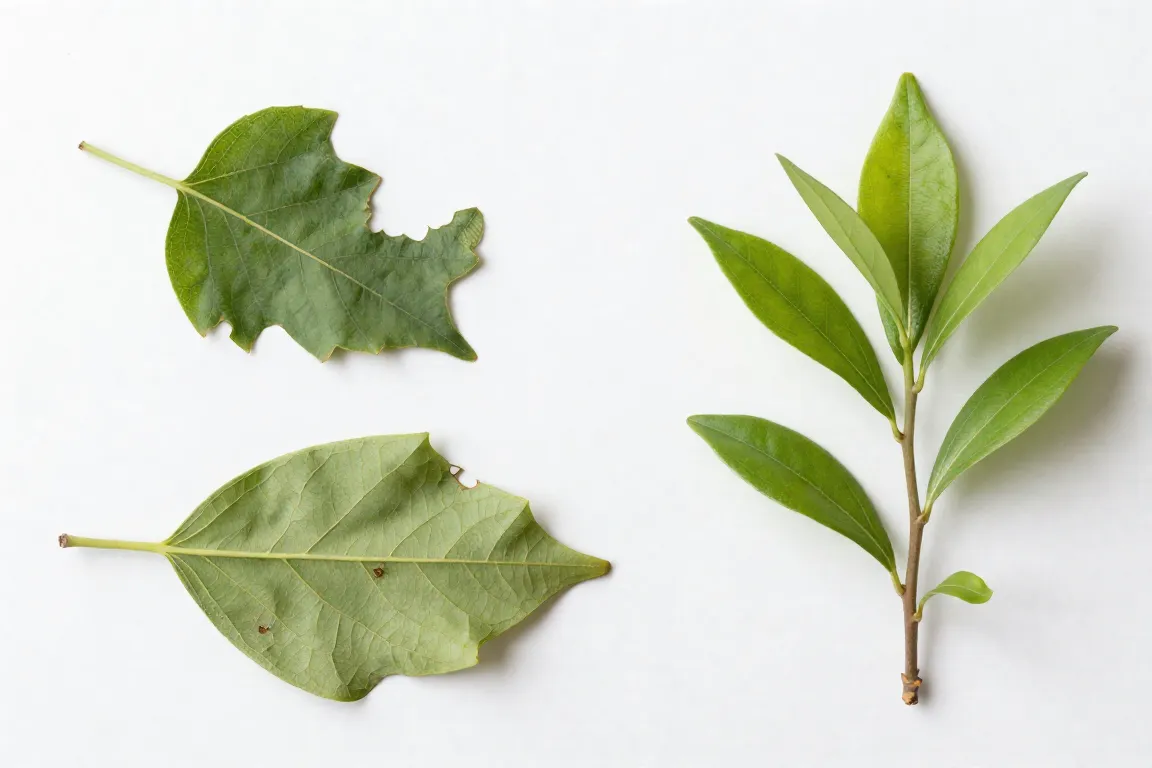
7. Notched or Chewed Leaf Edges
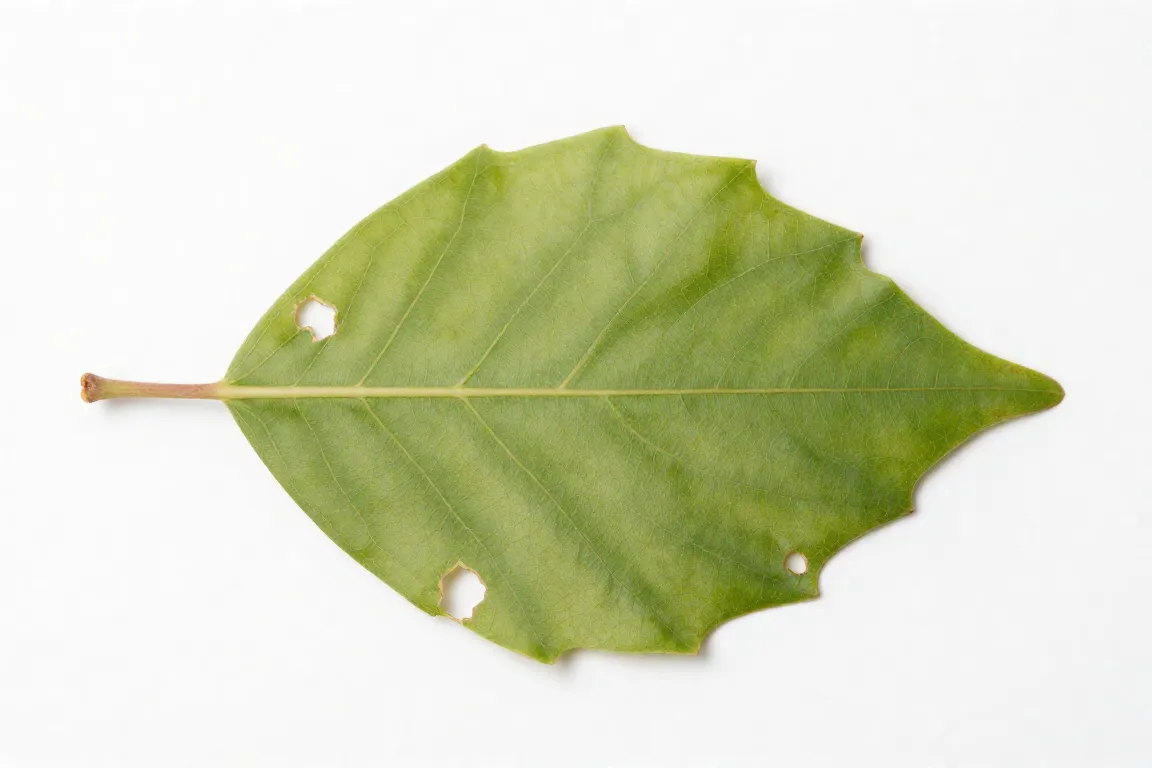
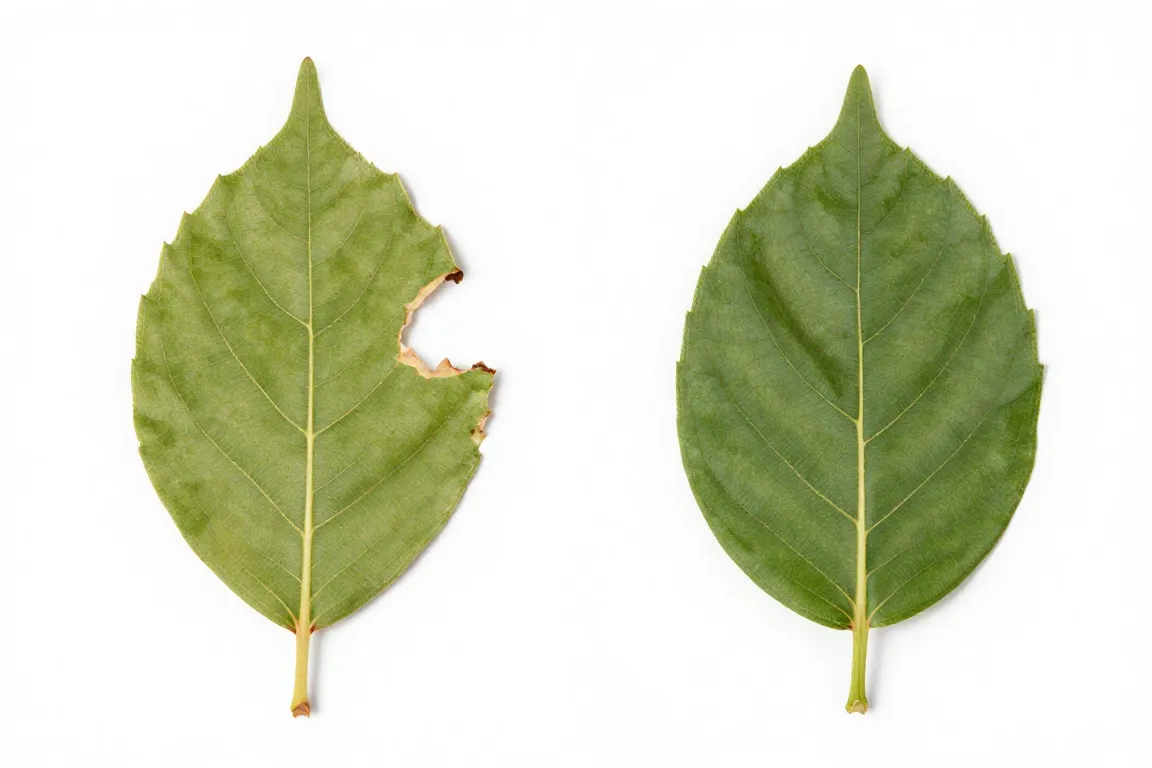
What you see: Neat bite-shaped notches, missing sections, or irregular holes along leaf margins.
Likely causes: Chewing insects such as caterpillars or beetles, particularly if the plant spent time outdoors. Physical damage from pets or handling can also make holes, so match the damage with where and when it appeared.
What to do: Inspect the plant in the evening or at night, including the undersides of leaves and the soil surface; hand-remove visible pests when practical. Before bringing a plant indoors after summering outside, inspect it thoroughly and remove any pests you find.
8. Winding Tunnels or Blotches Inside the Leaf
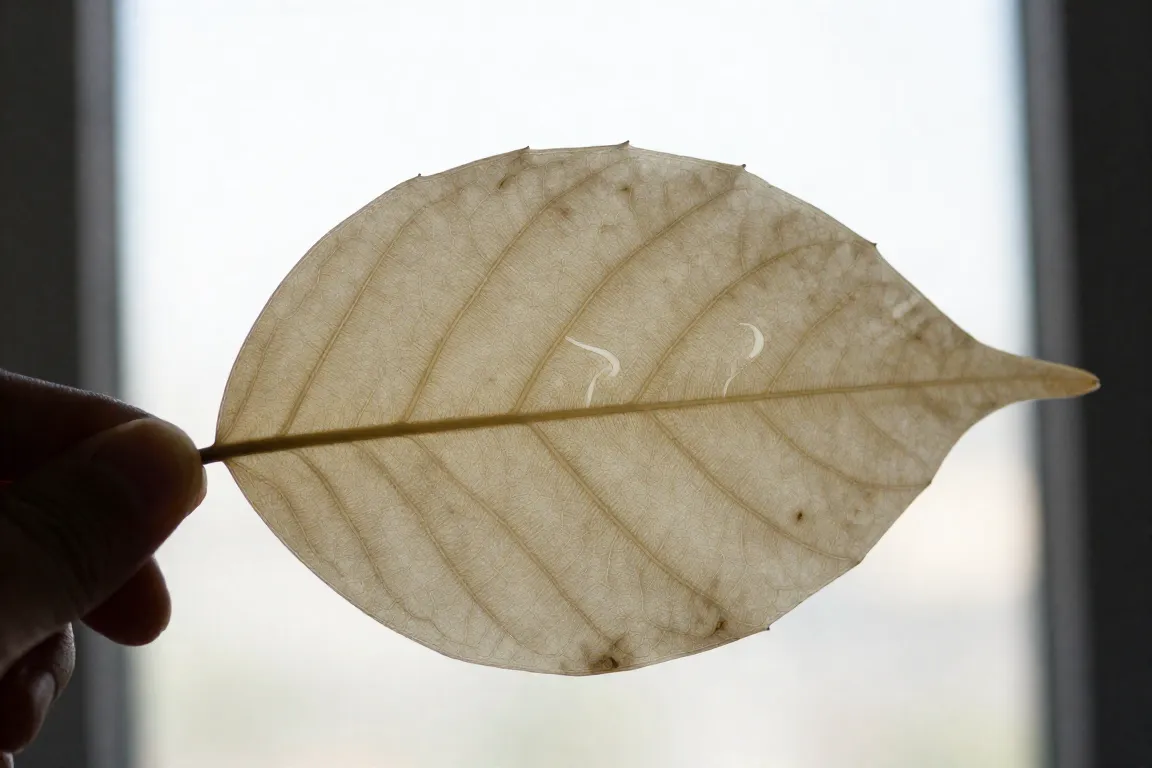
What you see: Pale, winding trails or irregular discolored patches that appear to sit inside the leaf rather than on its surface.
Likely cause: Leaf-mining larvae can feed between the leaf surfaces, although leaf miners are less common on many indoor plants than other causes of spotting.
What to do: Hold the leaf up to a bright light to see whether the trail is within the tissue. If you suspect an active pest, isolate the plant and remove badly affected leaves if the problem is limited. Dispose of infested leaves rather than composting them where the pest could survive. If the mark doesn’t look like a tunnel or keeps spreading, reassess the diagnosis.
II. Disease and Fungal Damage Patterns
Spots and mold-like growth are not always easy to identify by appearance alone. Several diseases can produce similar marks, and care problems can mimic disease. Improve growing conditions first and use disease-specific products only when the diagnosis and label support them.
9. Leaf Spots With Yellow Halos
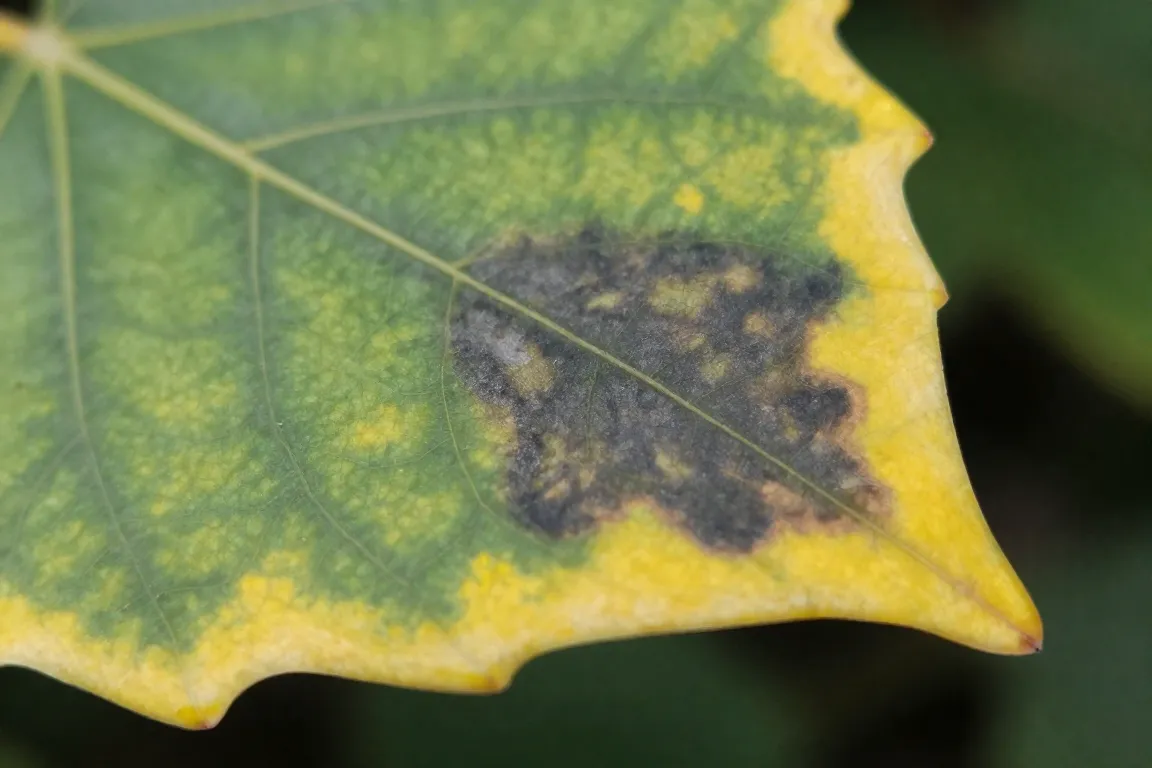
What you see: Circular or irregular brown-to-black lesions, sometimes surrounded by yellow tissue. Some spots may look wet at the edges or enlarge over time.
Likely causes: Fungal or bacterial leaf-spot diseases are possibilities, but water injury, sunburn, and other stresses can also create spots. A yellow halo by itself does not identify the pathogen.
What to do: Keep the plant apart from others while you assess whether the spots are spreading. Avoid splashing water across the foliage, remove badly affected leaves with clean tools, and improve spacing and airflow. Avoid a fungicide unless the product label covers the suspected disease and plant; fungicides do not treat bacterial diseases.
10. Powdery White Coating
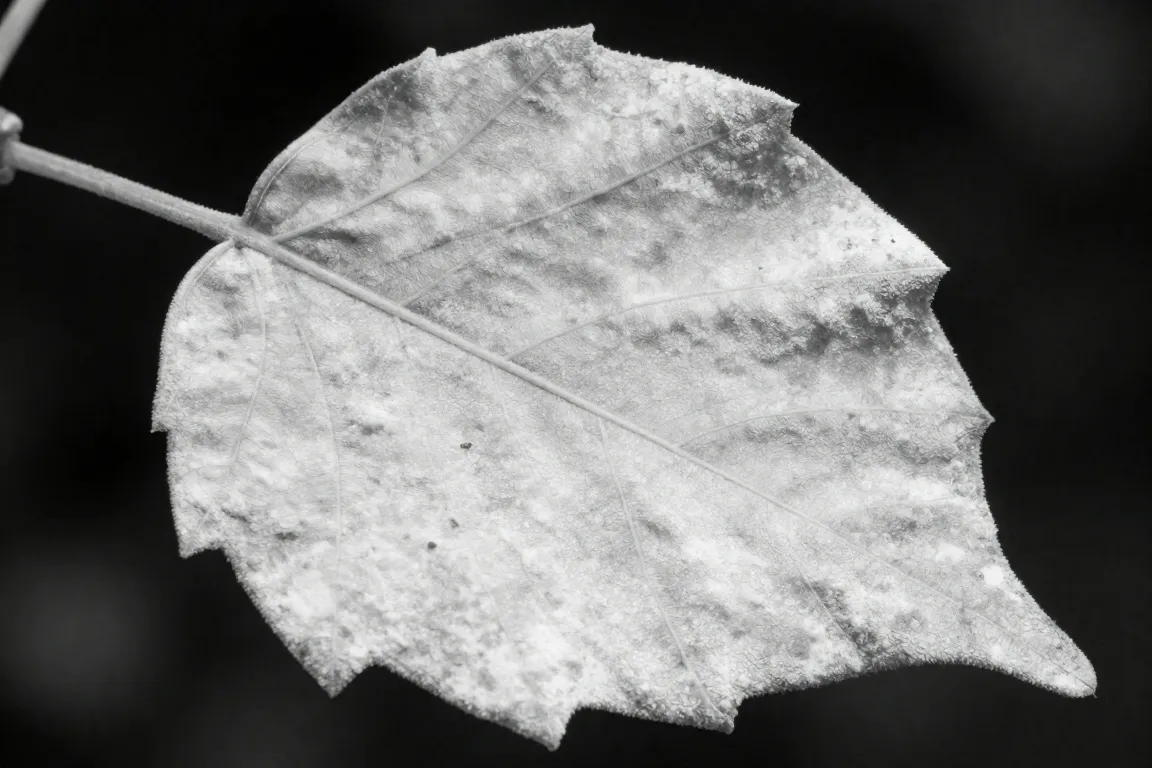
What you see: White, flour-like patches on the leaf surface that can expand into a broader powdery coating.
Likely cause: Powdery mildew is one possibility. Mineral residue or other surface deposits can sometimes look similar, so check whether the coating is spreading and inspect the rest of the plant.
What to do: Isolate the plant if a contagious disease is likely. Remove heavily affected leaves, provide better airflow, and avoid crowding foliage. If the problem continues, consider a fungicide labeled for powdery mildew. Follow label directions rather than mixing or applying home remedies at random.
11. Gray, Fuzzy Growth
What you see: Gray or brown fuzzy growth on damaged leaves, aging flowers, or other soft, dying plant tissue. The surrounding tissue may look tan or water-soaked.
Likely cause: Gray mold (Botrytis) can develop where dead or damaged tissue, high humidity, crowding, and poor air circulation combine.
What to do: Remove affected tissue with clean tools and discard it in a sealed bag. Remove fallen leaves and fading flowers, improve airflow, and avoid leaving the foliage wet for long periods. Also check watering and drainage; mold may take hold on tissue already weakened by poor conditions.
12. Possible Root Rot
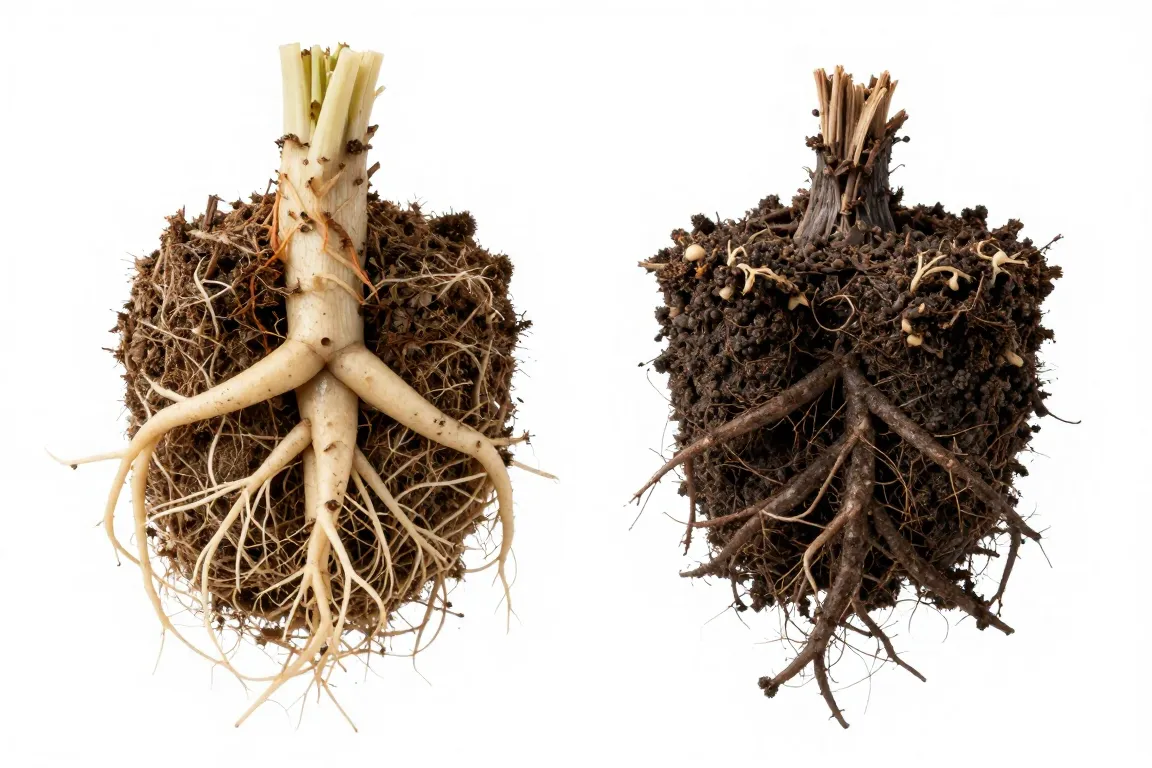
What you see: The plant wilts or yellows while the potting mix remains wet. Stems may soften, and affected roots may look dark and mushy, or break apart easily.
Likely causes: Root rot often results from damaged roots and organisms that thrive in wet, poorly drained conditions. Overwatering, poor drainage, or a mix that stays saturated can contribute. Wilting alone is not enough to diagnose root rot.
What to do: Check the soil and drainage first. If the plant keeps declining in a wet mix, slide it out of the pot and inspect the roots. Trim clearly rotten sections with clean tools and repot remaining healthy roots into a clean container and suitable, well-draining mix. If most roots and the stem base are rotten, recovery may be unlikely.
13. Orange or Rust-Colored Pustules
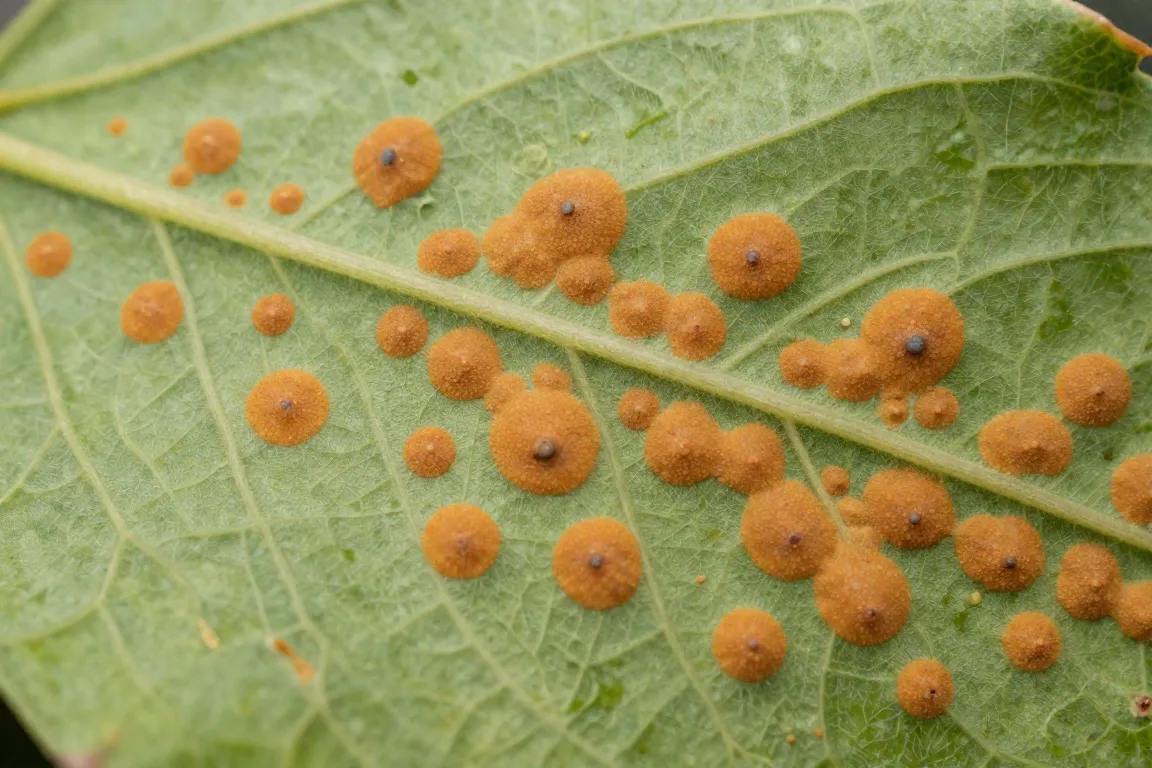
What you see: Raised orange, rust-brown, or reddish-brown spots, often more obvious on the undersides of leaves. The marks may release a powdery substance when disturbed.
Likely cause: Rust fungi may cause raised, pustule-like spots. Not every orange-brown mark is rust, so consider the plant species, pattern, and whether the lesions are spreading.
What to do: Isolate the plant and avoid brushing the affected foliage against other plants. Remove heavily affected leaves with clean tools and keep the foliage dry while watering the soil. Use a fungicide only if it is labeled for rust on the plant in question.
III. Watering and Cultural Stress
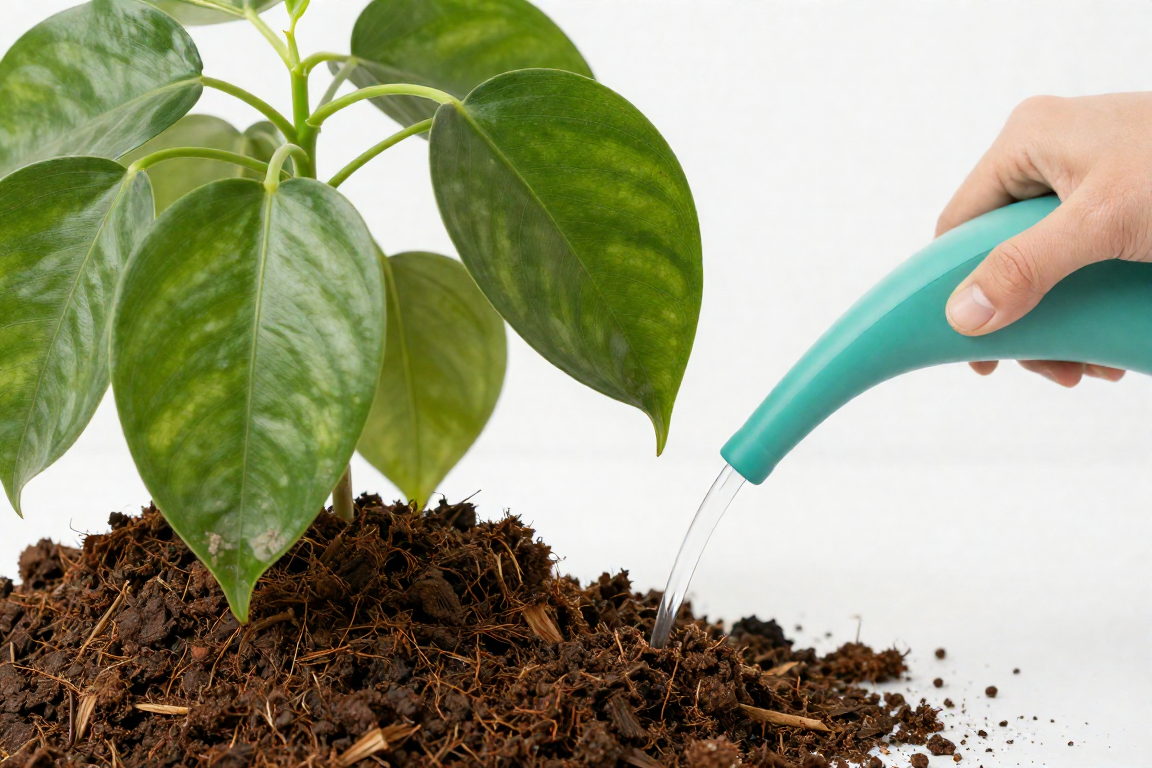
Water, roots, fertilizer, soil chemistry, and humidity can all affect leaf color and texture. Diagnose these patterns by checking the growing mix and the age and location of affected leaves before adding fertilizer or changing several care factors at once.
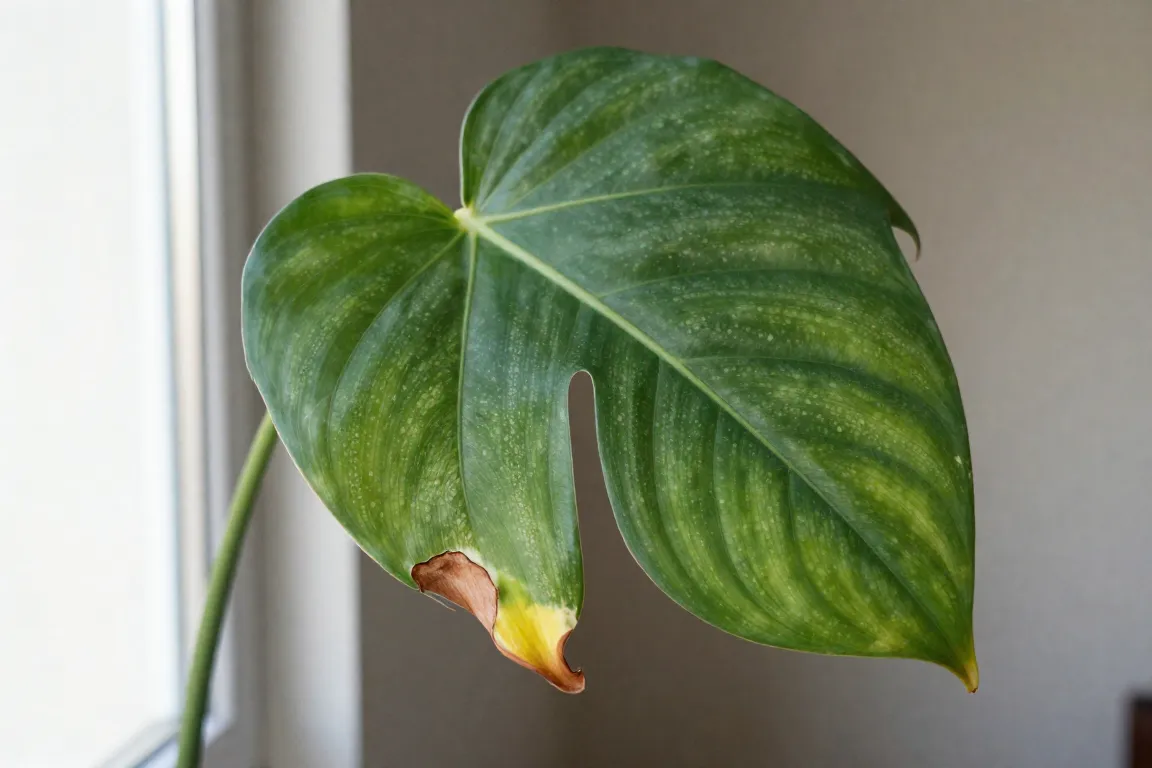
14. Brown, Crispy Tips or Edges
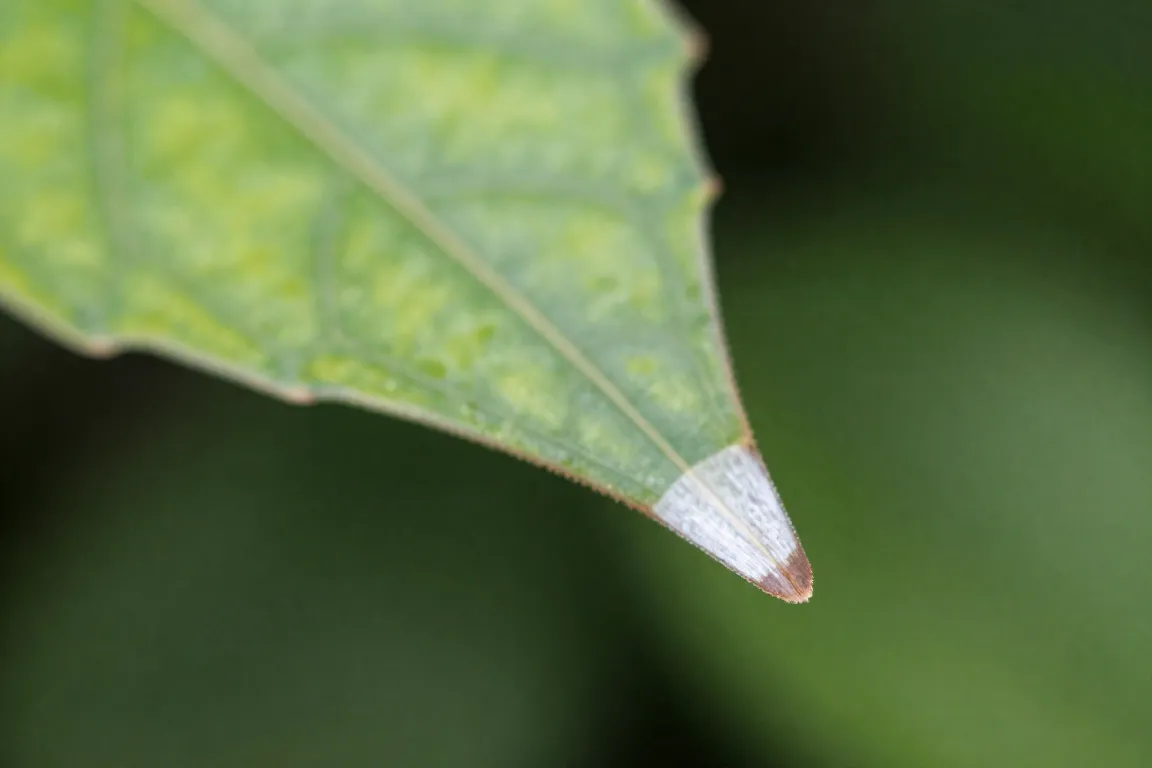
What you see: Leaf tips or margins turn dry and brown while much of the leaf stays green.
Possible causes: Low humidity, uneven watering, excessive fertilizer, soluble-salt buildup, sensitive plants reacting to minerals in the water, hot window glass, or drafts. Brown tips are not proof of low humidity alone.
What to do: Check soil moisture, drainage, fertilizer strength, and recent changes in the plant’s position. If salt buildup is plausible and the pot drains freely, flushing the mix with water may help; do not flush a poorly draining pot or a plant that is already waterlogged. For a fluoride-sensitive plant, try a suitable water source with lower fluoride. If you prefer a neater look, trim only the dead brown tissue; it will not turn green again.
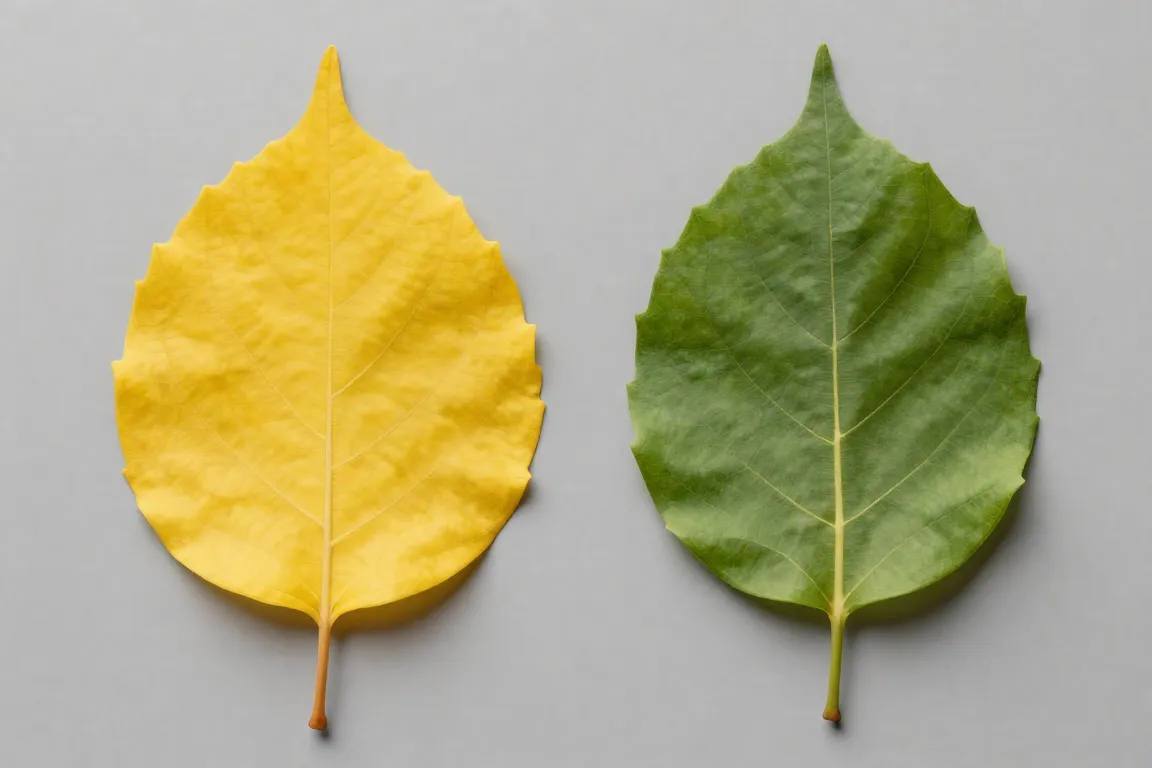
15. Uniform Yellowing
What you see: An entire leaf turns pale yellow, or several leaves yellow at once.
Possible causes: Overwatering, underwatering, poor drainage, low light, nutrient deficiency, root damage, or normal aging of a few older leaves; the location and order of yellowing matter.
What to do: Feel the mix below the surface before watering or feeding. If it is soggy, check drainage and let the plant dry out; if it is very dry, water thoroughly and let excess water drain. If the soil and roots seem healthy, review light and nutrition for that species before applying fertilizer. Do not assume that every yellow leaf needs feeding.
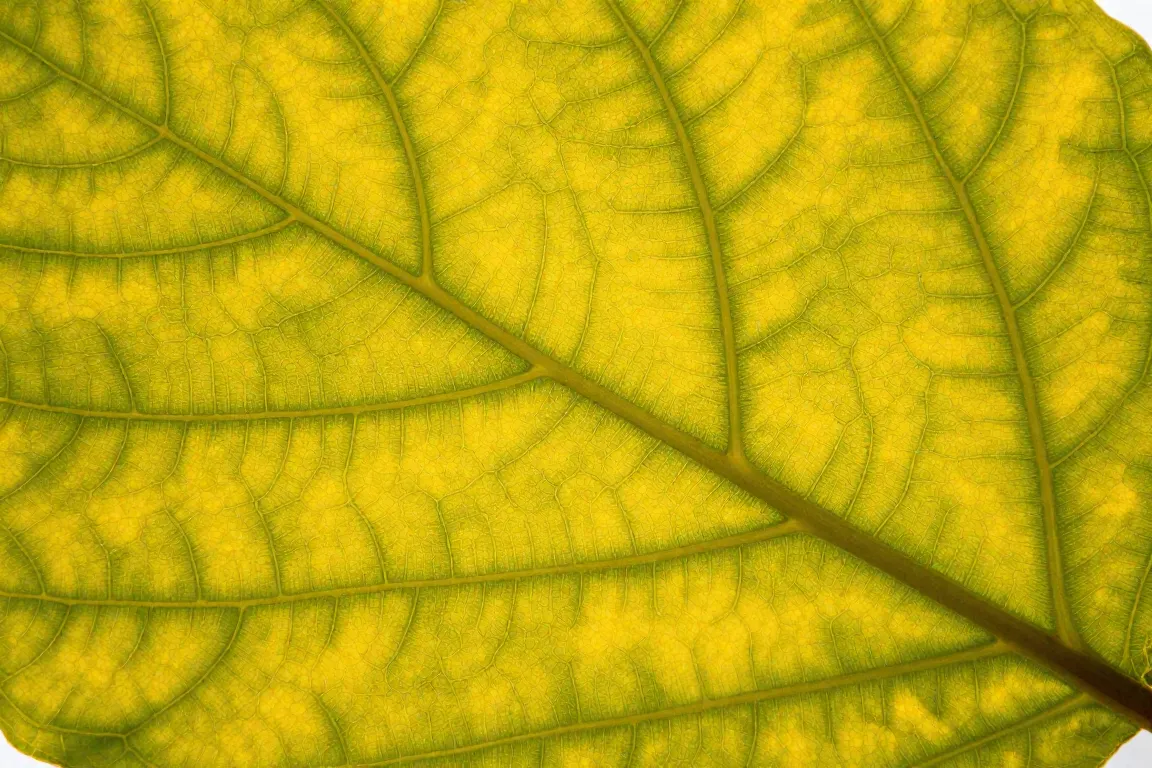
16. Yellow Tissue Between Green Veins
What you see: The area between the leaf veins turns yellow while the veins remain noticeably greener.
Possible causes: Interveinal chlorosis can result from nutrient availability problems, including iron or magnesium issues, but root health, soil pH, and the plant species also influence nutrient uptake. New leaves and older leaves may show different patterns.
What to do: Note whether the newest or oldest leaves are affected. Check the plant’s growing conditions and, if needed, the potting mix pH using guidance appropriate to that species. Correct the underlying issue instead of adding iron, magnesium, or Epsom salts without a clear reason.
17. Edema or Corky Water Blisters
What you see: Raised, blister-like bumps often on the underside that later become corky or brown. Old scars remain even after care improves.
Possible cause: Edema can occur when roots take up water faster than the leaves can release it, often combined with a wet growing mix and conditions that slow water loss.
What to do: Check whether the soil stays wet too long, and adjust watering to the plant’s needs. Ensure drainage and provide suitable light and airflow. Existing corky marks may not disappear, so judge improvement by the health of new growth.
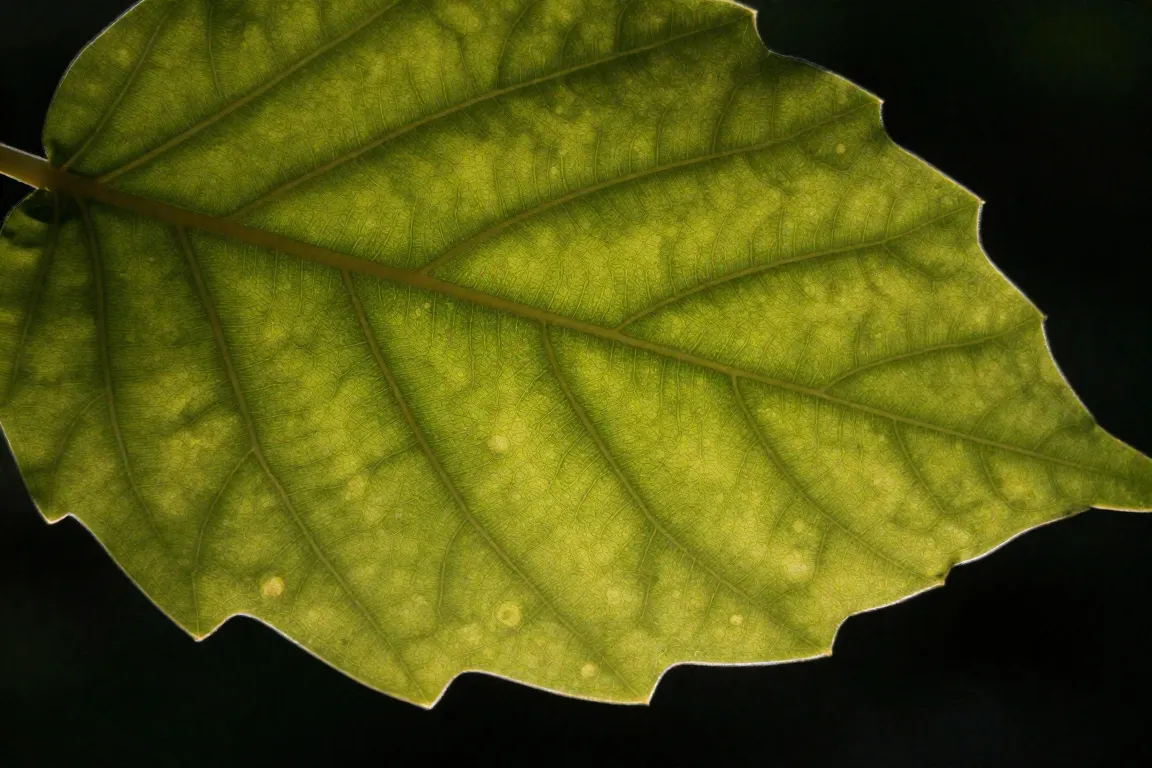
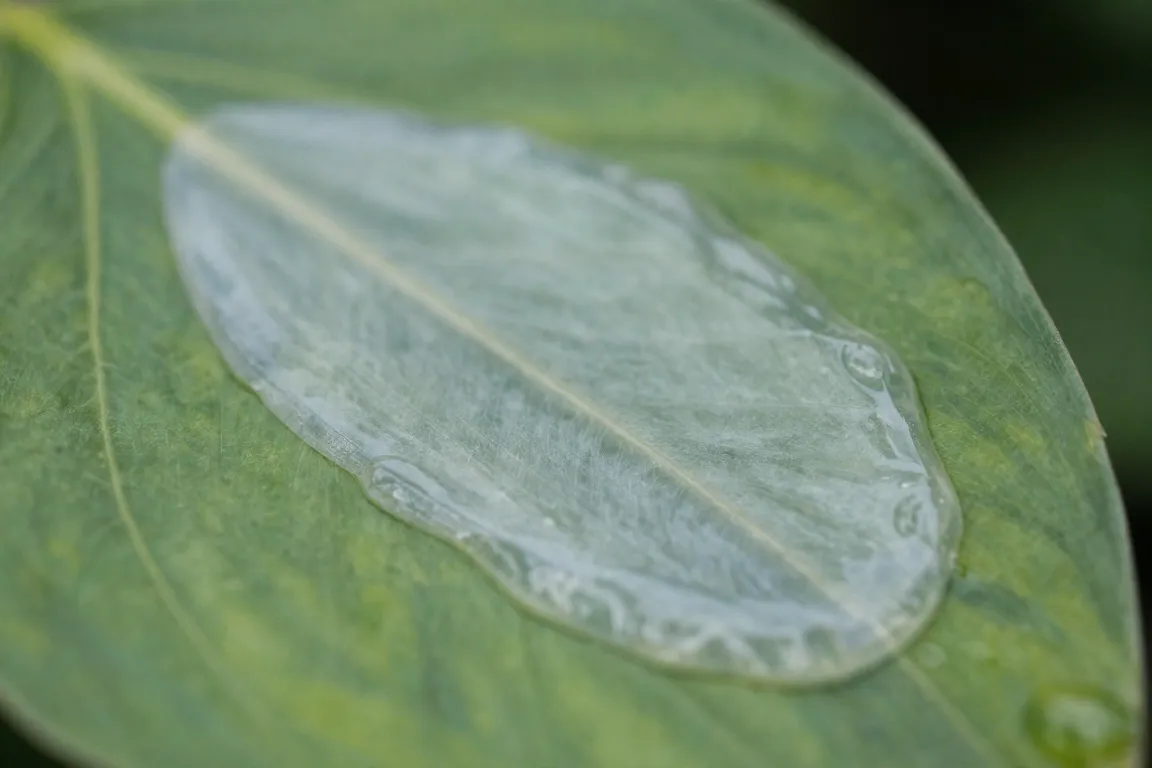
18. Soft or Translucent Patches
What you see: A section of the leaf looks water-soaked, translucent, bruised, or soft before turning brown or black.
Possible causes: Cold injury, physical bruising, water-related injury, or a developing disease can cause similar-looking patches. A single mark at a contact point is different from spots that keep spreading.
What to do: Check whether the plant touched cold glass, experienced a temperature drop, was handled roughly, or was splashed repeatedly. Keep it in a stable environment and avoid wetting foliage unnecessarily. Monitor the patch: If lesions keep spreading or new spots appear, isolate the plant and reconsider a disease diagnosis.
19. Drooping or Limp Leaves
What you see: Leaves hang down or feel limp. They may look soft and green, or become dry and crispy at the edges.
Possible causes: Both underwatering and overwatering can cause wilting. A dry mix suggests a water shortage; a wet mix with persistent wilting suggests poor root function or root rot. Heat and excessive light can also cause temporary wilting.
What to do: Check the potting mix before watering. If it is dry and the pot drains well, water thoroughly and let the excess drain. If it is wet, don’t add more water; check drainage and inspect the roots if the plant doesn’t recover. Avoid using the leaf position alone to decide when to water.
IV. Light and Environmental Stress
Light- and temperature-related damage often follows the plant’s position in the room. Compare the affected side with the side facing away from the window, radiator, or air-conditioning vent, and consider any recent move.
20. Sunburn or Bleached Patches
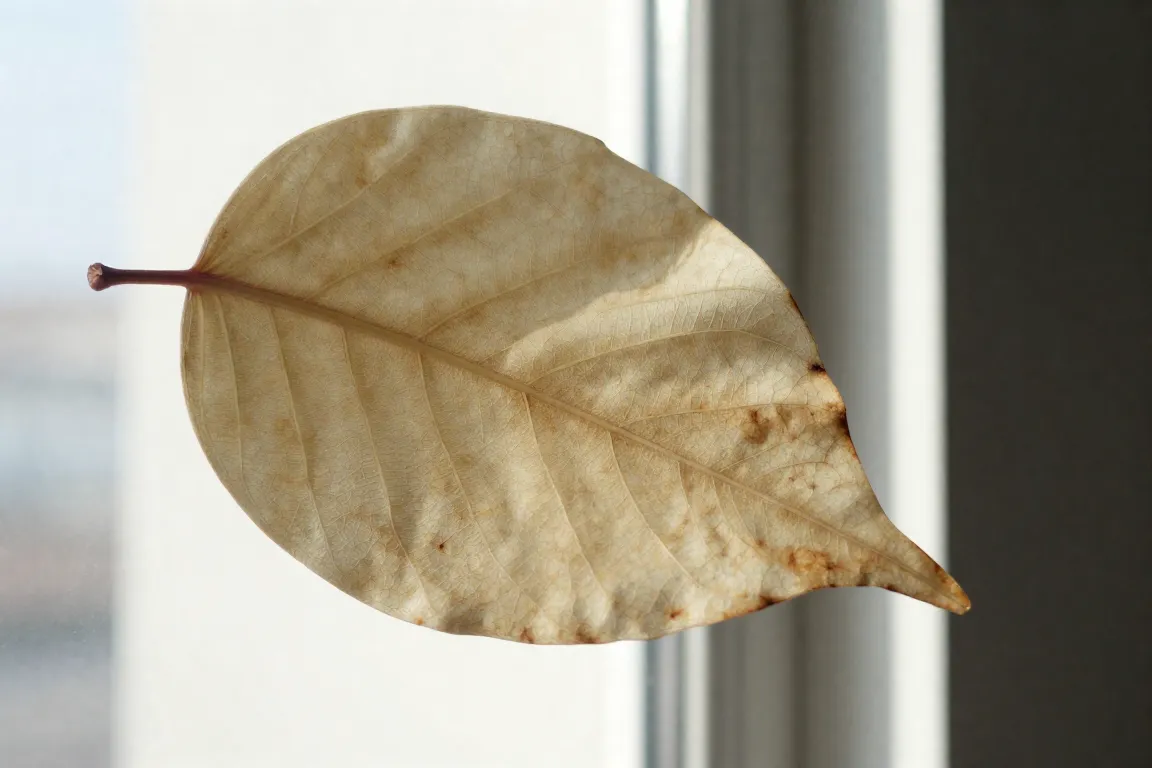
What you see: Pale, bleached, tan, or crispy patches on the parts of the leaf that receive the strongest direct light.
Likely cause: Excessive light for that plant, especially after a sudden move into stronger sun.
What to do: Move the plant slightly farther from the window or filter intense sun with a sheer curtain. Acclimate it gradually when increasing light exposure. Damaged tissue usually will not regain its color; remove it only if it is dead, or you prefer to tidy the plant.
21. Leggy or Stretched Growth
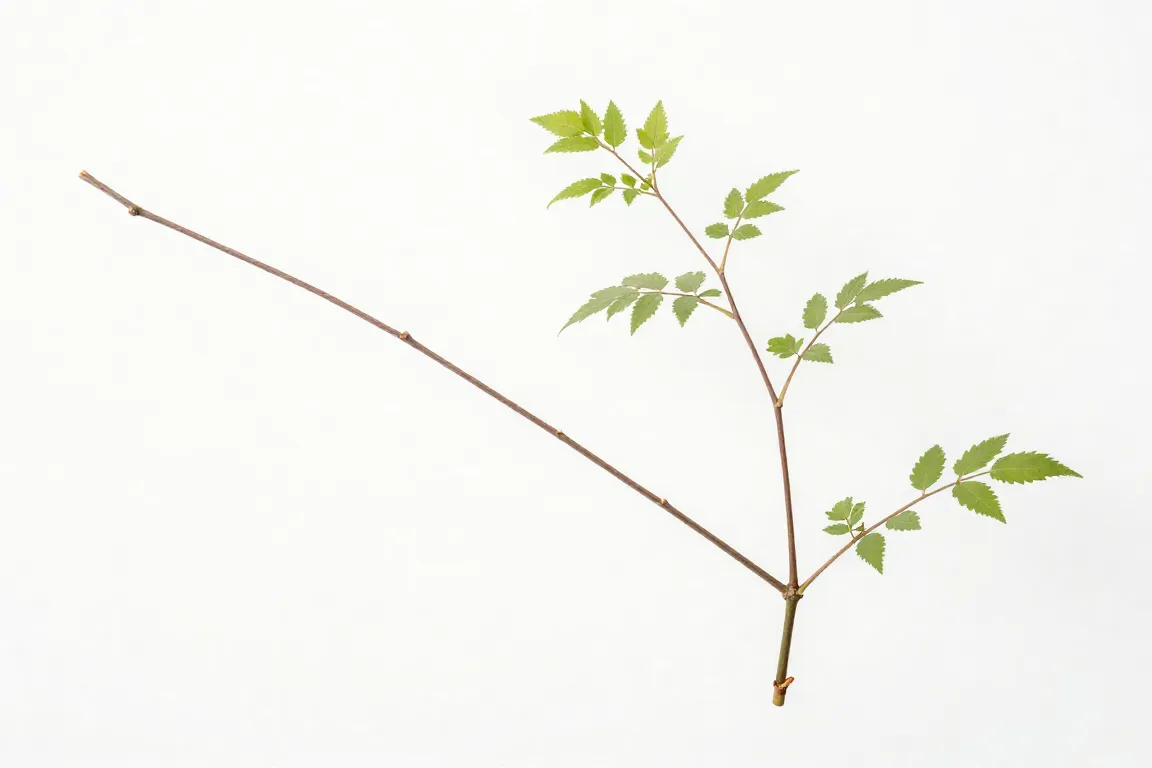
What you see: Long gaps between leaves, stretched stems, smaller or paler new leaves, and sparse growth leaning toward a light source.
Likely cause: Insufficient light is a common cause, but excessive fertilizer and other growing stresses can also weaken growth.
What to do: Gradually move the plant to a brighter location suited to its species, or add a suitable grow light. Monitor the new growth after the change. Pruning may improve the plant’s shape, but it will not fix inadequate light on its own.
22. Cold Damage
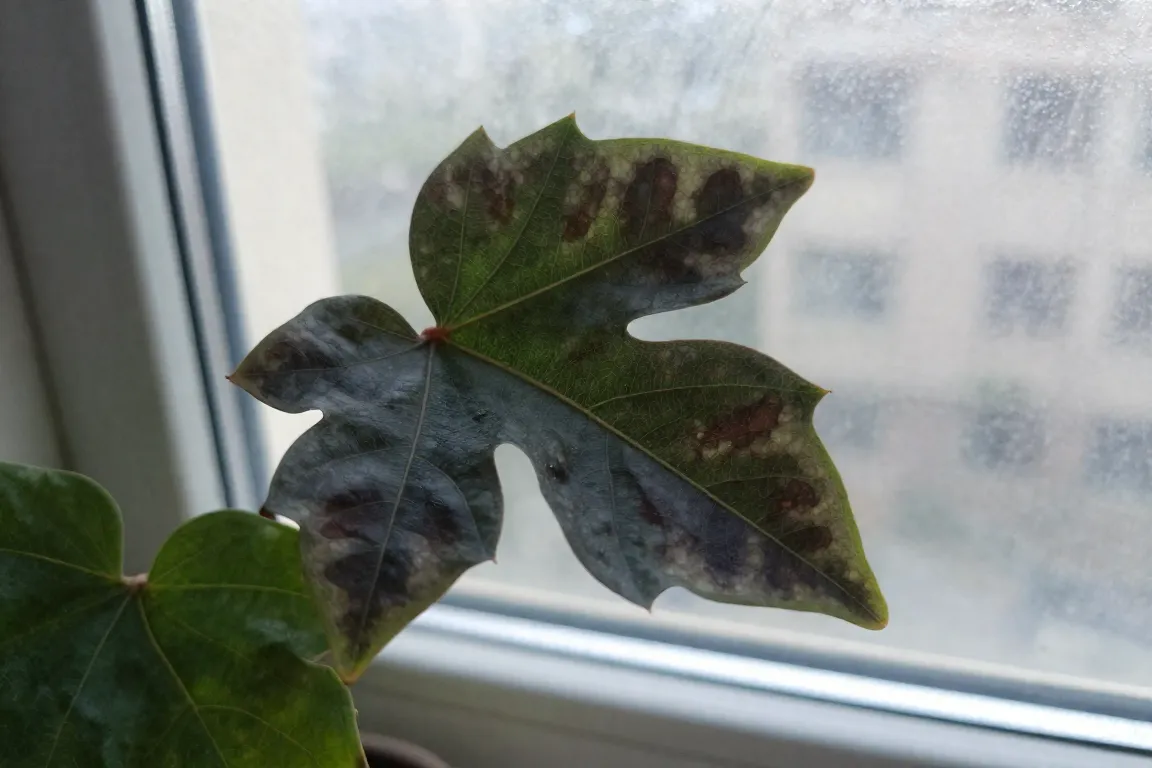
What you see: Dark, translucent, water-soaked areas that may later turn black, especially after a cold night or exposure to a draft.
Possible causes: Cold window glass, a chilly doorway, air-conditioning, or a sudden temperature drop. Sensitivity varies by plant species.
What to do: Move the plant away from cold glass and direct drafts, and keep it within the temperature range suitable for that species. Wait until the full extent of damage becomes clear before removing badly affected tissue. Check the plant over the next few days because symptoms may continue to develop after cold exposure.
23. Heat Scorch
What you see: Dry, papery brown margins or patches, sometimes concentrated on the side facing a radiator, heater, vent, or hot window glass.
Likely causes: Direct heat, hot glass, dry air, or water stress made worse by high temperatures.
What to do: Move the plant away from the heat source and keep its leaves from touching hot glass. Check soil moisture instead of watering more often. Provide good airflow without a harsh draft, and reassess new growth after relocation.
V. Physical Damage and Surface Problems
Not every damaged leaf is sick. Handling, pets, moving furniture, and household dust can leave marks that do not require pesticide or fertilizer.
24. Irregular Tears, Holes, or Scratches
What you see: Ragged holes, splits, scratches, or torn edges that do not match a uniform pattern of spotting or discoloration.
Possible causes: A leaf brushing against a wall, damage during handling or transport, pets, or chewing pests. Check the damage pattern and inspect the plant before assuming it is purely mechanical.
What to do: Look for fresh bite marks, insects, or signs that a pet has been chewing the leaves. Move the plant out of busy walkways and keep it safely away from pets, particularly if its toxicity is unknown. Existing tears will not heal, but healthy new leaves can grow normally once you prevent the cause.
25. Dust on Leaves
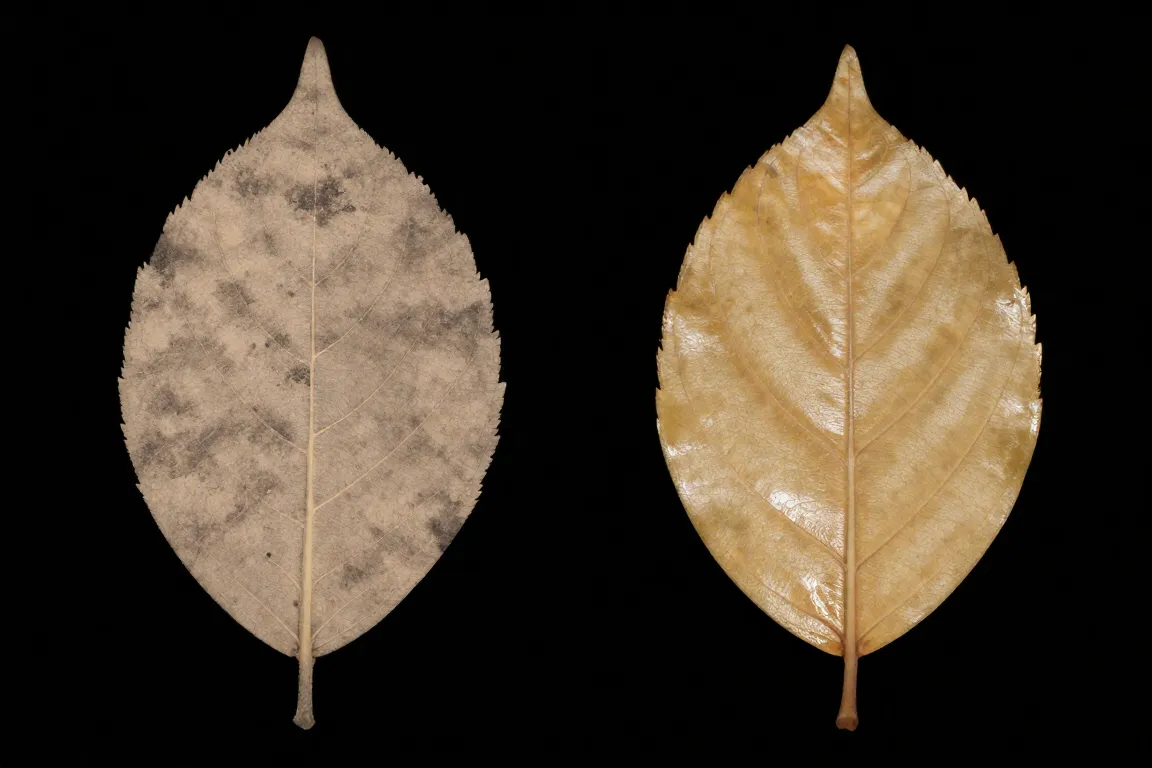
What you see: Leaves develop a dull gray film and lose their natural shine. A gentle swipe reveals a cleaner surface underneath.
Likely cause: Ordinary household dust. A surface film that wipes away differs from damage within the leaf tissue, though dust can coexist with pest or disease problems.
What to do: Wipe broad, sturdy leaves with a soft, damp cloth. A gentle rinse can work for plants that tolerate water on their foliage; let them drain and dry in a suitable place. Use extra care with fuzzy or delicate leaves, and avoid leaf-shine products that may leave a coating.
How to Photograph Plant Damage Clearly
Clear photographs make it easier to compare symptoms and track whether a problem is spreading.
- Photograph the whole plant first, then take close-ups of affected leaves, stems, and the potting mix.
- Capture both the upper and lower leaf surfaces, especially if you suspect pests.
- Use bright, indirect natural light. Avoid harsh flash, which can create glare and hide small details.
- Include a coin or fingertip for scale, but keep it out of the damaged area where possible.
- Take another photo a few days later from a similar angle to see whether the marks change.